Sunday, October 16, 2016

Now thats a shingling!

Well, the school holidays came and as usual I had a project I really wanted to finish. These holidays the focus was on finishing the front. There are a few things to do but I really wanted to get the last decking board down and shingle the panels. I had a vision how i would like it too look and I am glad to say it turned out better than i expected. I am pretty chuffed with the end result. Still need a capping board to cover the top row of nails but I'll get to that later. 

I wasn't sure if I should even bother with wall wrap but it is what i put everywhere else... so why not. Later i discovered that in America they have the wall wrap and tar paper over the top of the ply board.  
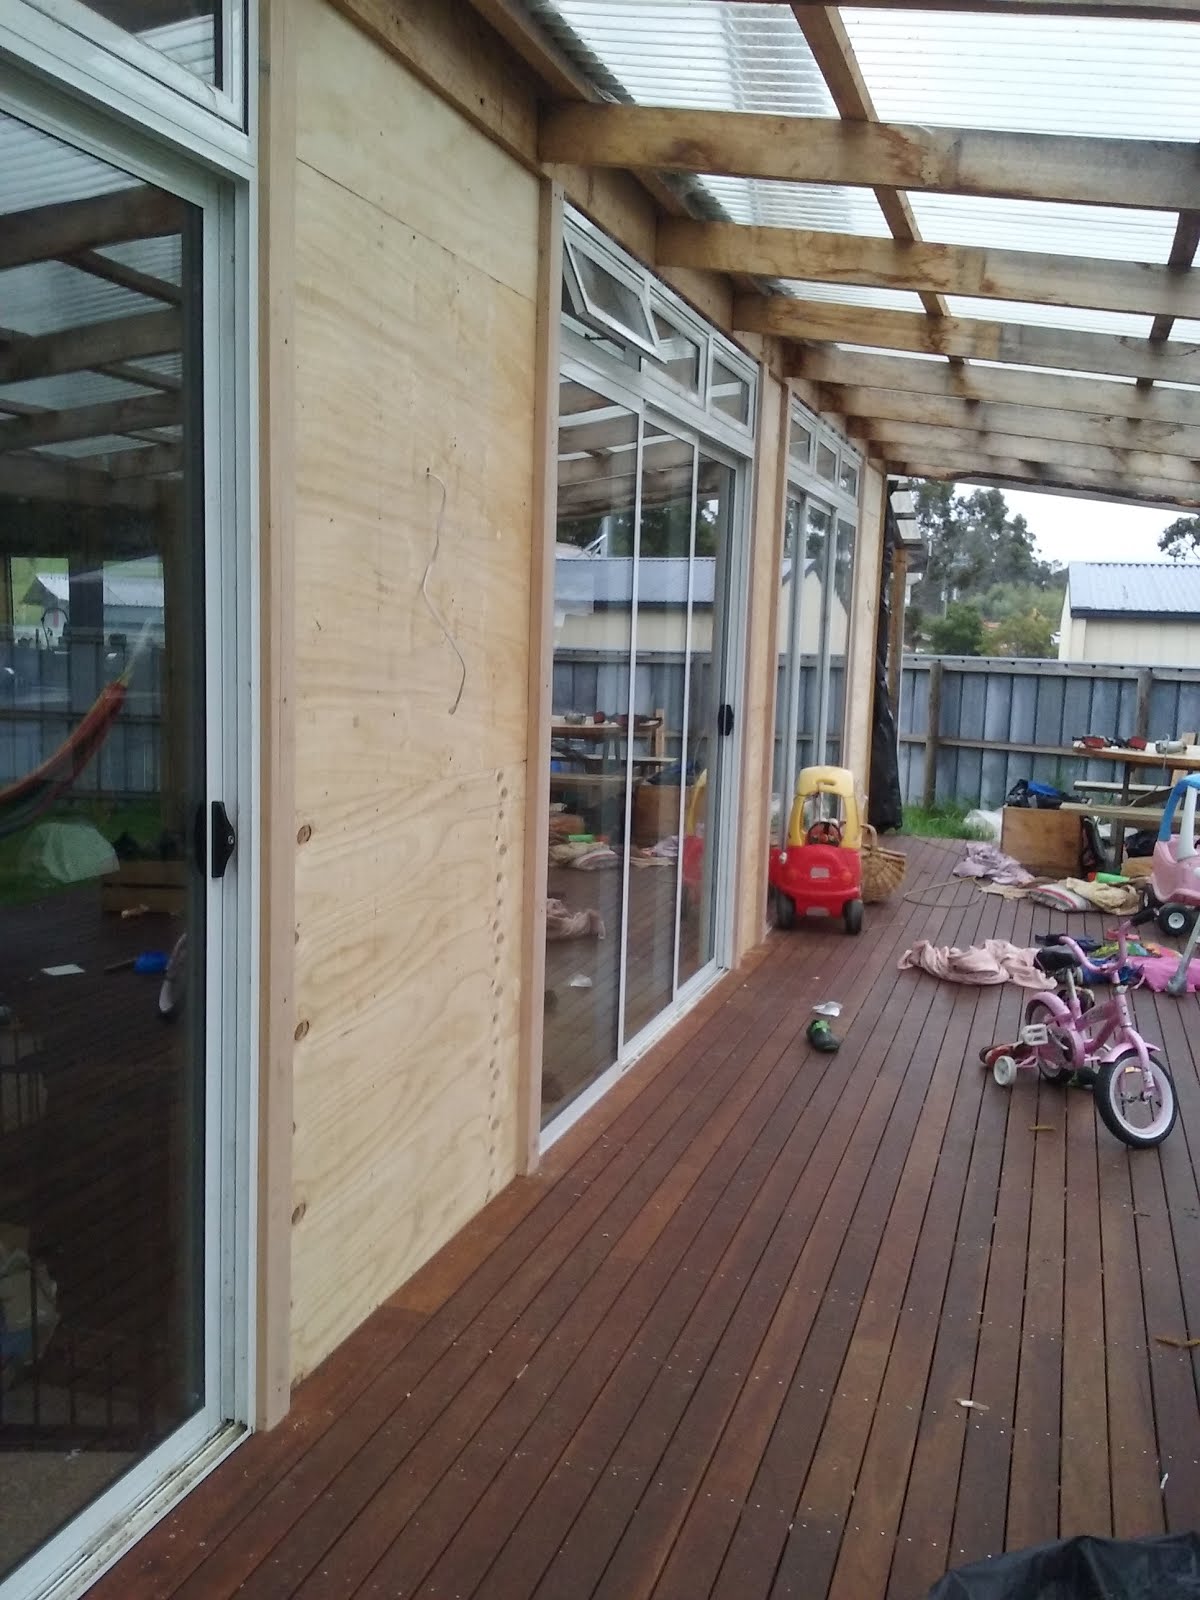
12mm Ply..


Last board down... now the shoes will stop disappearing under the deck... hope we get them all before I covered it
Lots of shingles. I used up 500 shingles and discarded 500. They are from the roof of the shed when I had the roof redone. They are about 50 years old. I still have a heap left. 

I had to wire brush the front and back of each one. 
Griffin helped a lot during the build. He came and helped me each day. It was great bonding with him. 


Griffin was not the only one to help : )

Heather helping me decide on the height of the light. 


Ta da!!!!


Laundry

Big thanks to Ezikit again. Was happy with the price and it is nice to have everything fit perfectly.  Still a few things to add like bench tops, tumble dryer and a cloths rack over the sorting bench. I'm really happy with the functionality of the room.  We had a bit of fun and individualised our washing baskets. 


Building hacks

Thought I would share another of my building hacks. When laying the self levelling cement in the bathroom, laundry and pantry I made myself a pin screed. It is a tool that you can set to the desired level and as you rake it over the cement it lays the cement at that thickness. I struggled to find one and they were really expensive... so I made my own with some scrap wood. It worked a treat and was adjustable too. 

Reminds me of a hammer head shark. The top is....  600mm from memory. 
I used two button screws on each end. They are the adjustable pins and are were good skids. I just used a ruler and adjusted the screws to my desired height.  

Bathroom Door

Thought I would post some photos of the barn door. It was a right old mess before and took a lot of time to clean up but I am really happy with the finish. 

Lots of sump oil and red oxide.
I scrapped, wire brushed, and sanded it back. 
Coated it with my homemade beeswax furniture polish. Now just to hang it...... 
Hang on!!! doh!! Luckily it was just that I put the track too high . 
Much better


Sunday, August 7, 2016

Bathroom x2, laundry, hallway and mudroom photos.

In the mad rush of things I didn't take a huge amount of photos. Here are a fare few though.... Im saving the finished photos for later... when it is completely finished!


Laundry
Big bathroom. Love a good bulk head. 
Looking from hallway into mudroom, small bathroom. To the right is the laundry
Small bathroom waterproofed and painted. 
big bathroom shower liner
I was pretty proud of my bracing method. I put a 45 degree notch and shimmed the top and bottom. Worked a treat and was easy 
Ta da!
Small bathroom shower
Favourite thing so far (besides bath) sensor lights in the hallway :) 
Ahhh hallway finally has lights! Could do without those plaster sheets :)
baths in!